
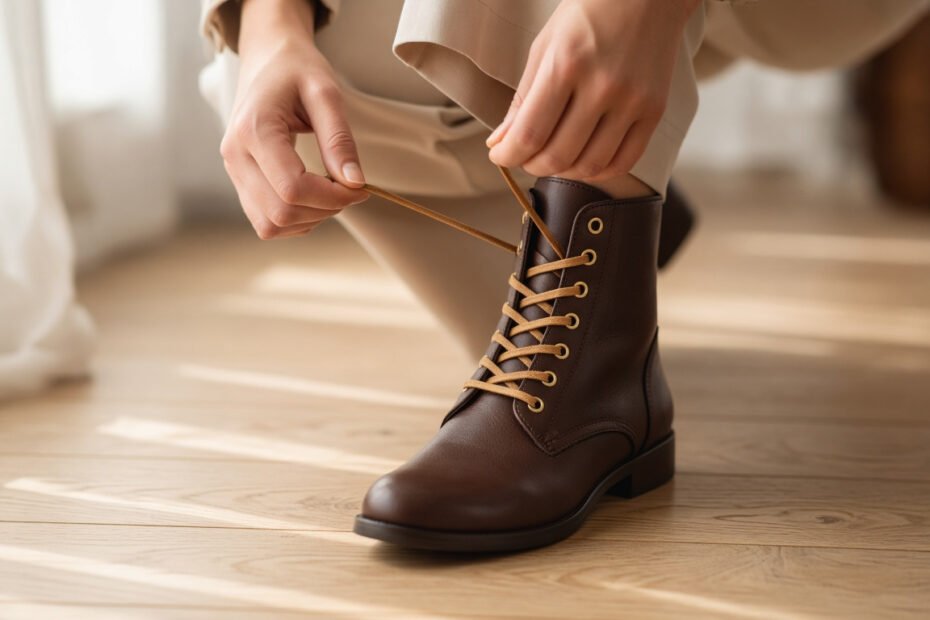
To lace up women’s boots, start by threading the lace evenly through the bottom eyelets and work upward using a criss-cross pattern with consistent tension. Tie off with a secure bow at the top. The best technique depends on your boot style, foot shape, and the look you’re after — this guide covers all of them.
Quick Answers
- Standard criss-cross lacing works for most women’s boots and is the easiest place to start
- Different techniques — ladder, straight, heel-lock — solve specific fit or style problems
- Skipping eyelets in targeted spots can relieve pressure from bunions, high insteps, or wide ankles
- How you finish and tie the knot matters just as much as the lacing pattern itself
Why Does the Way You Lace Your Boots Actually Matter?
It’s easy to treat lacing as a pure formality — thread the lace, tie a bow, get on with your day. But the way you lace your boots affects how they feel on your foot, how long they hold up, and even how they look. A boot laced too tightly at the ankle can restrict circulation and cause aching by midday. One that’s too loose will slide around with every step and create blisters on spots you didn’t even know were vulnerable.
Getting the lacing right means the boot moves with your foot rather than fighting it. Women’s boots come in a huge range of styles — ankle boots with four eyelets, knee-highs with twelve or more, chunky combat styles with D-rings instead of traditional holes. Each calls for a slightly different approach. The good news is that once you know a few core techniques, you can adapt them to almost any pair. And if you’re still exploring which lace-up boot styles suit your wardrobe, there’s a full range of silhouettes and seasons to consider before you even get to the lacing step.
What Do You Need Before You Start Lacing?
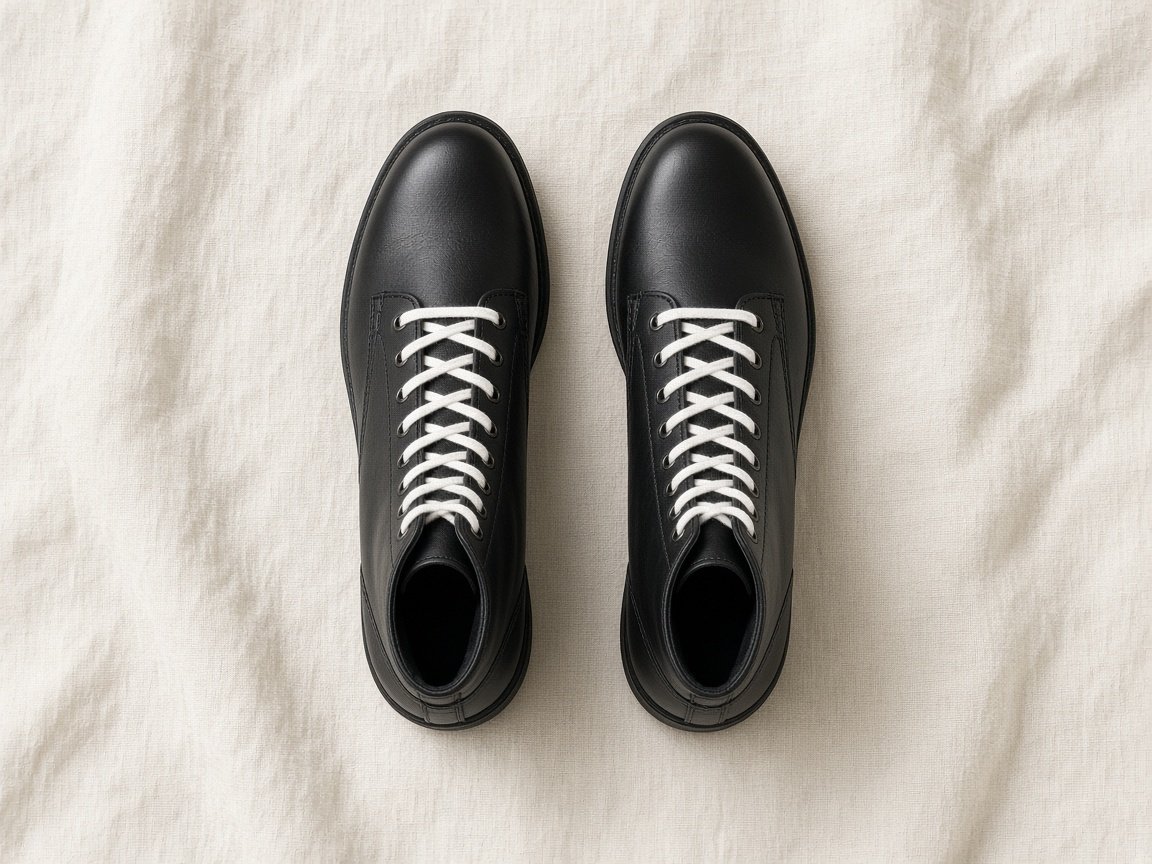
Before you thread a single lace, it helps to check a few basics. First, make sure your laces are the right length for your boot. As a general guide, ankle boots with four to six eyelets on each side work well with laces around 45 inches (114 cm) long. Knee-high boots with more eyelets may need 60 inches (152 cm) or more. Laces that are too short won’t reach the top eyelets; laces that are too long make for a messy, bunched-up finish at the bow.
Next, check that both ends of the lace are even before you begin. Uneven starting lengths mean you’ll run out of lace on one side before the other — and no amount of technique fixes that mid-boot. It’s also worth flattening any twists in the lace before you start threading. A twisted lace creates uneven pressure across the eyelets and tends to pucker rather than lie flat. If your existing laces are worn, stretched, or starting to fray at the aglets, replacing them before you refine your technique is a small investment that makes a noticeable difference.
To find the right replacement lace length, lay your old lace flat and measure it. If it snapped, add roughly 10–15 cm to the longest surviving section to account for the missing part.
How Do You Lace Ankle Boots Step by Step?
Ankle boots are the most common style with laces, and they’re the best starting point if you want to practise before moving on to more complex boot shapes. Most ankle boots have four to six eyelets on each side. The standard criss-cross method is the right technique for this style and produces a clean, secure result every time. Here’s how to do it properly:
- Thread the base: Feed the lace straight across the bottom two eyelets so both ends come out on top. Make sure both sides are equal length before you do anything else.
- First cross: Take the right lace end, cross it over the left, and thread it up through the next eyelet on the left side, pulling it out from the inside of the boot.
- Second cross: Take the left lace end, cross it over the right, and thread it up through the next eyelet on the right side.
- Continue upward: Keep alternating sides, maintaining the same direction for every cross — if you started right-over-left, keep it right-over-left all the way up.
- Apply even tension: At each cross, pull both sides with the same light, consistent pressure. Firm enough to feel snug, not so tight that the tongue bunches up.
- Finish at the top: Tie off with a standard bow for everyday wear, or add a second bow on top of the first if you need it to stay put for a long day.
The most common mistake at this stage is letting the cross direction vary — some passes going right-over-left and others going left-over-right. This makes the finished boot look uneven and means tension is distributed differently on each side. It’s a small discipline that pays off every time you put the boots on.
What’s the Best Way to Lace Up Knee-High Boots?
Knee-high lace-up boots present a bigger challenge simply because there’s more boot to work with. More eyelets means more opportunities for uneven tension, gaps, or pressure points — particularly around the ankle crease and the calf. The key to a good result is adjusting tension as you go rather than trying to tighten everything at the end. By the time you’ve laced ten or twelve eyelets, you can’t pull earlier sections back without unlacing from the top.
Start with the same criss-cross method from the toe upward. At the ankle, slow down and pay special attention to tension — this is usually the narrowest point and where pressure is most noticeable after a few hours of wear. If your knee-high boot has a hook-and-loop section at the top of the shaft, switch from threading through eyelets to wrapping the lace under and around each hook. This gives you finer control over the calf section and makes it easy to adjust on the go without undoing the whole boot. Keeping the calf section comfortably snug without being tight also goes a long way toward the boot staying in position throughout the day — there’s more to cover on that in the guide to keeping knee-high boots up.
How Do You Lace Combat and Military-Style Women’s Boots?
Combat boots have been a serious fashion presence for years, but their lacing system was engineered for function before style. Most combat-style women’s boots use D-ring hardware rather than traditional eyelets — either throughout the boot or in the upper section above the ankle — and the lacing approach differs depending on which hardware you’re working with.
For the eyelet section at the toe and ankle, use the standard criss-cross method exactly as you would with an ankle boot. When you reach the D-rings, switch to wrapping the lace under and around each ring rather than threading through a hole. Pull the lace taut at each D-ring before moving to the next — this is what gives combat boots their characteristic firm, locked-in feel. Some wearers prefer ladder lacing for the D-ring section: the lace runs straight across each pair of rings with the crossover hidden on the inside, creating a clean, military-neat finish. Ladder lacing is slightly harder to loosen quickly when you want to take the boots off, but it looks sharp and holds exceptionally well through a full day of wear.
Which Lacing Techniques Are Worth Knowing — and When Should You Use Each One?
Once criss-cross feels effortless, it’s worth adding a handful of other techniques to your repertoire. Each solves a different problem or achieves a different look. Here’s a plain-language breakdown of the most useful ones:
| Technique | Best For | What It Does |
|---|---|---|
| Criss-Cross | All boot types | Secure, even fit — the go-to starting point for any lace-up boot |
| Straight / Display | Fashion ankle boots | Clean horizontal lines visible on top; diagonal runs hidden inside for a polished look |
| Ladder | Combat and military boots | Maximum security; lace runs straight across inside the boot with no visible diagonal |
| Heel Lock | Walking and outdoor boots | Uses the top eyelets to anchor the heel and prevent it shifting inside the boot |
| Toe Relief | Wide feet, bunions | Skips the first eyelet pair to reduce tension near the toe box |
| Instep Skip | High instep or instep pain | Skips one or two middle eyelet pairs to remove pressure from the top of the foot |
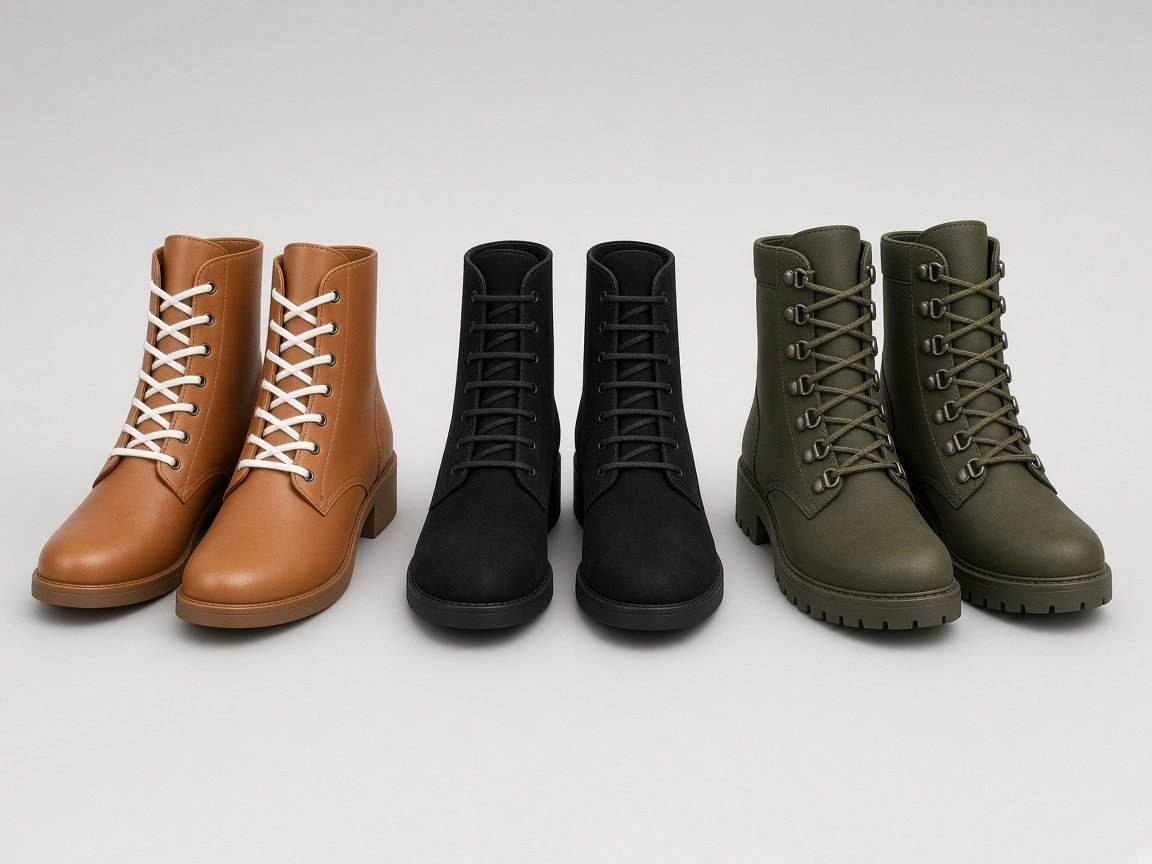
The straight lacing technique is particularly worth trying on fashion-forward ankle boots where the lacing itself is part of the visual. Rather than crossing the laces over the front, each pass runs horizontally across the boot’s exterior, with the crossover sections hidden on the inside. It takes a few more minutes than criss-cross and requires a bit of practice to keep the horizontal runs even, but the result looks noticeably more finished and deliberate — especially on slim leather ankle boots where every detail is visible.
How Can You Adjust Your Lacing to Fix Common Fit Problems?
Lacing adjustments are one of the most underused tools for improving how a boot fits. If your boots are slightly too snug in a specific spot, cause aching after a few hours, or create pressure on a particular area, changing the lacing pattern — rather than the boots — can often solve it without spending anything.
High instep: Skip the eyelet pair at the highest point of your instep. Thread straight across from the eyelet below to the eyelet above, leaving a gap over the pressure point. This creates a window in the lacing that removes the pinch directly where it matters most.
Narrow heel that slips: Use the heel lock technique at the top two eyelets. After threading through the second-to-last eyelet on each side, loop each lace end back through the same eyelet it just came out of, creating a small loop on each side. Cross the laces and thread each end through the opposite loop before continuing to the top and tying. This creates an extra anchor point that stops the heel moving inside the boot during walking.
Wide calf or ankle on knee-high boots: Loosen the top few eyelet crosses, or switch to a wider spacing between crosses in the calf section. This gives the boot more room in the upper shaft without buying a new pair. If the calf section is consistently uncomfortable, it may also be worth looking at wider-fit knee-high options specifically designed for this.
Bunions or pressure near the toe box: Skip the first eyelet pair entirely and start the lacing at the second pair up. This removes tension across the widest, most sensitive part of the forefoot — a simple change that makes a meaningful difference for a very common complaint.
How Do You Lace Boots to Achieve a Specific Look?
Lacing has become a genuine style element in women’s footwear, not just a functional one. The pattern you choose can shift a boot’s vibe from clean and minimal to deliberately undone, from fashion-forward to sharply structured. It’s one of the easiest ways to change the character of a pair you already own without buying anything new.
For a sleek, polished finish on fashion boots, straight lacing keeps things tidy and minimal. It works especially well on black suede knee boots, where the clean horizontal lines of straight lacing complement the luxurious texture of the material without competing with it. For a more relaxed, effortlessly undone look, leave the top two eyelets unthreaded and tie the lace lower down with a deliberately loose bow. This works particularly well with ankle boots worn over chunky knit socks or tucked into relaxed-fit jeans.
If you want the laces themselves to be a focal point, contrasting colours are an easy upgrade — cream or tan laces on dark leather, cobalt on black suede, burgundy on tan. Waxed flat laces have a slightly more elevated look than standard round cotton laces and hold knots noticeably better. Both styles are widely available and can completely refresh a pair of boots you’ve had for years. Swapping laces is also a low-risk way to test a new look before committing to it.
How Do You Tie a Knot That Stays Done Up All Day?
Getting the lacing perfect and then watching the bow come undone an hour later is one of the most frustrating boot problems — and one of the easiest to solve once you know what causes it. Most laces come undone because the bow is unbalanced: one loop is longer than the other, so the knot sits at an angle and works itself loose with movement. The fix is a more symmetrical finishing knot rather than fighting the same loose bow every day.
The most reliable upgrade is the Ian Knot — sometimes called the balanced knot. Instead of looping one lace end around the other sequentially, you form both loops simultaneously and push them through each other at the same time. The result is a flat, symmetrical bow that sits evenly across the boot and is significantly more resistant to coming undone on its own. It takes a few attempts to feel natural but becomes quick once it’s muscle memory — many people find it faster than the standard method once it clicks.
If you’d rather not learn a new knot, a double bow (a second bow tied on top of the first) works reliably for most people. For boots you wear on active days or for long walks, tucking the finished bow inside the top of the boot prevents it catching on trouser hems or coming loose through movement. This is the standard approach for combat and outdoor-style boots and works equally well on taller fashion boots.
Avoid this: Wrapping laces tightly around the ankle several times before tying is a common improvisation for boots that feel loose, but it restricts circulation and can cause aching after a few hours. A better fix is the heel lock technique or adding a volume insole to take up space inside the boot.
What Are the Most Common Lacing Mistakes — and How Do You Avoid Them?
Even once you know the right technique, a few habits can quietly undo the result. These are the mistakes that come up most consistently, along with the straightforward fix for each:
- Inconsistent tension across the eyelets. Pulling some crosses tightly and leaving others loose creates pressure points and means the boot feels supported in some places and floppy in others. Apply the same light, even pressure at each cross — it helps to slow down rather than rushing through.
- Not equalising the lace ends at the start. If one side is longer from the beginning, no technique will compensate. Always check that both sides are the same length before the first cross.
- Lacing only the top section and pulling down. Some people thread the bottom eyelets loosely and try to tighten the boot from the top down. This traps air in the lower boot and means the toe section is never securely held. Always work from the bottom up with consistent tension at each eyelet.
- Letting the cross direction change mid-boot. Switching from right-over-left to left-over-right partway up makes the lacing look uneven and reduces how evenly tension is distributed. Pick a direction and maintain it throughout.
- Continuing with worn or stretched laces. Old laces lose elasticity, don’t hold tension well, and tend to come undone more easily. Replacing them is an inexpensive way to get better performance from boots you already love.
If you’re investing in quality leather boots, it’s also worth caring for the eyelets themselves — metal eyelets can corrode or work loose over time, particularly in damp conditions. The guide to the best Italian leather boots for women covers the material qualities and construction details that separate a boot worth maintaining from one that isn’t.
Frequently Asked Questions About Lacing Women’s Boots
How do you lace boots so the bow ends up in the middle of the shaft, not at the very top?
Start with an intentionally uneven base — thread the lace so one end is longer than the other before you begin the first cross. The longer end travels further up the boot and the two ends converge somewhere in the middle of the eyelet run. It takes a couple of attempts to find the right starting ratio for a specific pair, but once you’ve worked it out for those boots, it’s the same every time.
What length laces do knee-high boots need?
It depends on how many eyelets the boot has. As a general guide, knee-high boots with eight to ten eyelets per side typically use laces around 54 to 60 inches (137–152 cm) long. Boots with twelve or more eyelets may need 72 inches (183 cm) or longer. The safest approach is to measure your existing laces before buying replacements rather than estimating by boot height alone, since the same boot height can have very different eyelet counts depending on the brand.
Can you lace boots to make them fit wider feet?
Yes. The instep skip — skipping one or two eyelet pairs in the middle section of the lacing — creates a looser zone over the widest part of the foot. Starting the lace at the second eyelet pair rather than the first also reduces tension near the toe box. These adjustments don’t add physical width to the boot, but they can relieve the discomfort caused by tight lacing pressing down over a wider foot shape.
Why does one side of my lacing always look looser than the other?
This is almost always a tension difference between your dominant and non-dominant hand. You’re pulling more firmly on one side without realising it. Try consciously matching the pull on both sides at each cross, or switch to straight lacing — where the tension difference is much easier to see and correct before you reach the top of the boot.
Is there a lacing method that makes boots quicker to get on and off?
Yes. Leave the top two or three eyelet pairs unthreaded and tie the lace lower down. For knee-high boots, lace tightly from the toe to the ankle and leave the calf section loose enough to step into without undoing anything. Some wearers use elastic lace locks for the top section of the shaft, which lets them keep the right tension without relacing every day. It’s a particularly useful approach for lace-up knee-highs that you wear regularly.
How do you stop boot laces from coming undone during the day?
The most reliable options are a double bow (a second bow tied on top of the first), the Ian Knot for a symmetrical and naturally secure finish, or tucking the completed bow inside the top of the boot. If laces still work loose, the problem is usually the lace material: very smooth laces don’t grip knots well. Switching to a waxed flat lace or a cotton round lace with more texture tends to hold knots noticeably better.
Can you use the same lacing technique on boots with D-rings and boots with eyelets?
Not exactly. Standard eyelets are threaded through — the lace passes inside the hole. D-rings are wrapped around — the lace goes under the ring and loops back over. Many boots have both, with eyelets near the toe and D-rings up the shaft. The right approach is to criss-cross through the eyelets and then switch to wrapping around the D-rings once you reach them, keeping the same tension throughout the transition.
Wrapping Up: Getting Your Lacing Right Every Time
Lacing women’s boots well is one of those small skills that makes a surprisingly big difference to daily comfort, the lifespan of the boot, and how the whole outfit comes together. The right technique keeps pressure off problem spots, holds the boot in position through a full day, and — once you start paying attention to it — becomes a quick way to change the character of a pair you already love.
Start with the standard criss-cross on whatever boots you’re wearing now. Once that feels automatic, try straight lacing on fashion ankle boots where the finish matters, or ladder lacing if you own a combat pair. Use the targeted adjustments — heel lock, instep skip, toe relief — when a good boot doesn’t quite fit the way it should. And replace your laces before they’re genuinely frayed rather than after.
If you’re in the market for new lace-up boots to put these techniques to work on, the best knee-high boots for petite women roundup is a solid place to find well-constructed options designed with fit in mind from the start.
Good lacing doesn’t take long to learn. It just takes a few minutes of deliberate attention on a pair of boots you already care about.